Prepare yourself! Coz this post will be long, but detailed. And after this, you will no more have an excuse to say you don't know or cannot make something.. because this is the first of my future Recipe posts.. photo by photo, instruction by instruction.. Red velvet cupcakes, only for you!
Prior to beginning, I must say I do not claim this recipe whatsoever. It has been there for a while now, and is very popular in USA, as it allegedly originates from the South of the States.
His origins come from the Devil`s food cake, which carries attributes such as- airy, moist, rich.. and which is named that way "because it is supposedly so rich and delicious that it must, to a moralist, be somewhat sinful" (from "The Dictionary of American Food and Drink").
The ground recipe i am using is from the
Joy of baking site, which is an inspiration for a lot of my recipes.. Yet, this one i have adapted to my taste and wishes..
Red velvet cupcakes
250 g flour
1/2 tsp salt
1 & 1/2 tsp cocoa powder (sifted)
120 g buter (room temperature)
250 g sugar
2 eggs
1 tbs vanilla extract
240 ml buttermilk
1-2 tsp red food coloring
1 tsp alcohol vinegar
1 tsp baking soda
And now, what to do with all these ingredients? Well, first of all, divide them into "wet" (red bowl) and "dry" (blue bowl). I know it may sound funny, but that's the way i always divide ingredients.
So, wet ingredients:

(even though I sneaked in the sugar, coz I always prefer putting it in here.. though technically, it would go with the dry ingredients)
..and dry ingredients:

We are missing the buttermilk, color, vinegar and baking soda, because those will be the finishing ingredients to add, before it all goes into baking.
Okay, so lets explain what to do with the wet ingredients..
In a (my red) bowl, cut in the room temperature butter and start mixing it. It should be mixed for about 5 minutes, with occasional scraping of the butter off the sides of the bowl. When the butter seems creamy and easily removable off the sides, it`s time to add sugar. Continue mixing butter and sugar together for another 2 minutes. Than add eggs, one at time, mixing for about half minute after adding each of them. And in the end, add tea spoon vanilla extract and mix it in shortly, just so it comes together with the rest.
(I am adding in the time of mixing for every part, just so it`s easier for you than explaining what kind of texture you need to reach before continuing on.. but it`s helpful for the future times to remember the exact texture, so you dont need to look at the clock constantly)
Mixing together the dry ingredients is pretty simple. In (my blue) bowl just mix together flour, cocoa powder and salt. One tip- its best if you sift the cocoa into flour, because it often has lumps from sitting in a box for a longer time.

Now that we have the wet and the dry bowl ready, it`s time to add the color. The easiest way to add the color that will later on have an effect on the taste of the cake as well is to mix the needed color into the buttermilk. If you are not able to find buttermilk in your stores, you can replace it with liquid yogurt.

Start by adding one spoon at a time, till you reach the intensity of the color you wish. With each adding of the color, I would suggest whisking it or mixing it shortly, just so that the color spreads evenly. The color that you can see in the buttermilk is pretty much the color you will get after the cake is baked, therefore this is the step to level the amount of color and intensity.
By the original recipe, a gel color is used, but this time i used the powder one and am really happy with how it turned out.

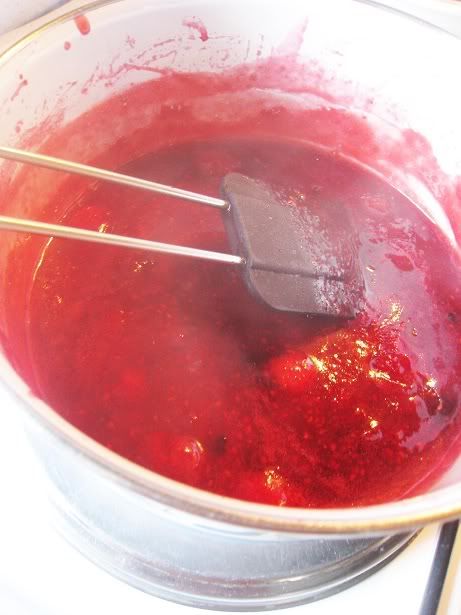
Add the red buttermilk in the DRY ingredients bowl, and than slowly mix it together into a red paste. Than, you should have this in front of you!

Put those two mixes of ingredients together and connect them with slow mixing, until you incorporate them well one into eachother.
Another simple step - and they are ready for the oven. So, we are left with only vinegar and baking soda. And instead of adding those two separately in the bowl, melt them in eachother.
You will do it this way- ( do this above the bowl with the mix for cake) add baking soda in a big spoon and pour vinegar over it. Let it burst into bubbles and react together, and when its done, just put it all inside the bowl. Slowly mix/whisk it in with the rest.

The vinegar and baking soda mix will not effect on the smell/taste of the cake, but will keep the intensity of the color during the baking, therefore this step is made just prior to putting the cake in the oven.

Bake cupcakes in a preheated oven to 180 °C (350F), for about 20min, but the best thing is to check them out already after 15min of baking, with the toothpick test.
I use this same recipe for making the Red Velvet cake as well, with the same amount of ingredients. So in the case you prefer a true cake over cupcakes, just so you know that the recipe stays the same.
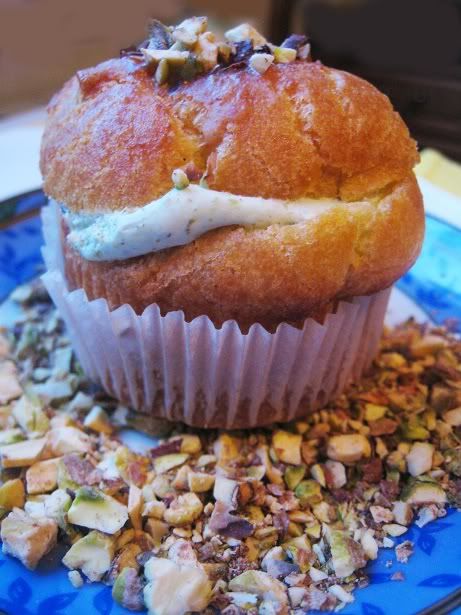
The final product should look a little bit like this:

So, we are ready to decorate our cupcakes with the frosting of your choice.
Still, I have done this recipe dozens of times already, tested it with different creams.. and one (the original one for this cake), though maybe not the cheapest one, is still my favorite by far.
Cream cheese frosting
120 g cream cheese (ABC, Philadelphia..)
120 g mascarpone cheese
60 g caster sugar
1 žličica vanilla extract
180 ml heavy whipping cream

In one bowl, mix together cream cheese and mascarpone till even and creamy. Add the caster sugar, vanilla extract and also mix in.
In a new bowl, mix the whipping cream. When the cream is finished, add it into the cheese mixture and mix them in together very slowly.
And we are ready for decorating!!!

About the decorating ideas topic I won`t talk right now because there is no limit to creativity. If you have followed the game on my
Facebook page, i am sure you have figured that out yourself too. So, give yourself freedom to do whatever your mind comes up with. You cannot go wrong with this.
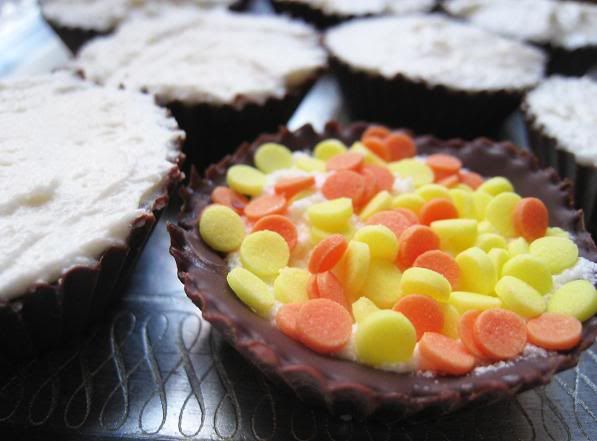
But here are my examples of how I decorated these cupcakes for the lucky ladies that have won my game..


And finally, packed up in their little boxes..

Material used for decorations: hand made fondant, coconut, coconut chips, edible beads, colored sugar


